We offer a range of options at Draper's Gun Centre for refilling airguns. You can buy canisters, cylinders, hand pumps or we can refill your airgun, right here in our shop.
A modern PCP air rifle must be filled with clean and dry compressed air either by a pump or a cylinder (scuba diving tank).
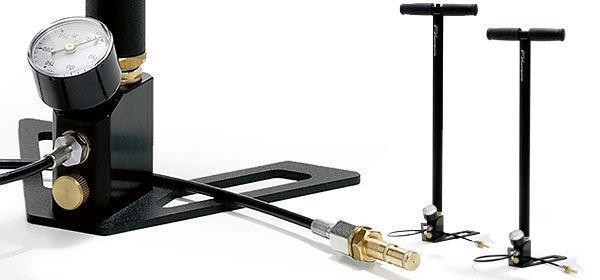
Hand pumps are an excellent option for portability, due to their size and weight. You can take it anywhere with you, pretty much as you would a bicycle pump! We sell the FX four-stage pump which has a totally unique gearing system and you will not find it on any other pump. This allows you to change gear, depending on whether you want high volume (with lower pressure) or high pressure (with lower volume). You can fill the air tube rapidly with over 300cc of air per stroke. Then change down gear (less than 200cc per stroke) to reach the recommended fill pressure with ease. If you are considering buying a hand pump, we recommend checking it has a decent filter and a dry pack. This stops dust and moisture getting into the internals of the gun, which will cause corrosion and may damage the valves and seals. A pump is undoubtedly hard work, becoming increasingly harder as the pressure inside your gun increases. You will have to weigh up convenience over effort!
Cylinders (or bottles) are currently the most popular method of filling up PCP air rifles. We only stock 300 bar cylinders, as this is the best pressure rating for air rifles. You can purchase the cylinder full from us and take it to any dive shop local to you to get it filled on their compressor. When using a 300 bar cylinder, do not under any circumstances use the pressure gauge on your gun to check the pressure of your fill. The gauges on most guns have such a small hole in the back to measure the pressure, that they respond slowly and you may get an over fill and ruin your gun. A separate gauge on the side of the dive cylinder side is a must have. A cylinder is a cost effective way of keeping your rifle charged, but of course not as easily portable as a hand pump! You should get a good 60 fills out of a 7 litre cylinder.
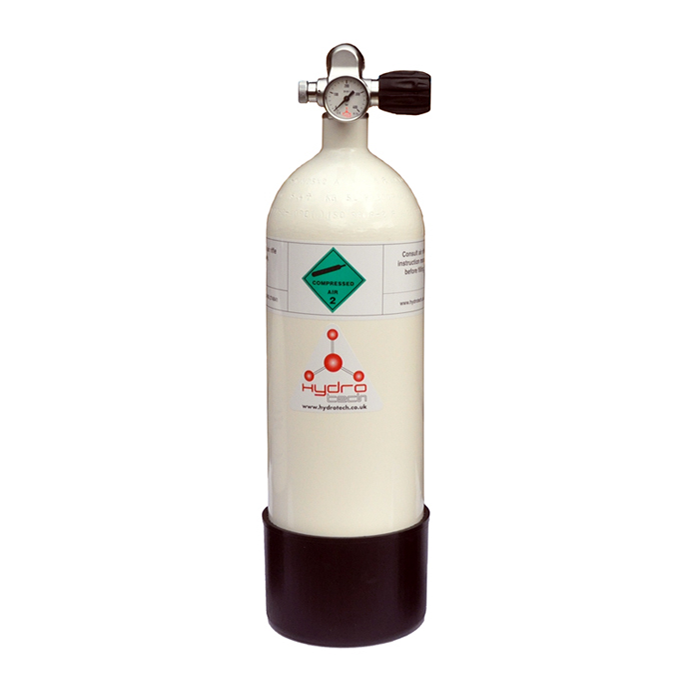
Remember, no matter what cylinder size or pressure rating you get, you will have to have your bottle tested and inspected 5 years after it has been made. The test includes a visual inspection of the inside of the cylinder and if required a hydro test. This is where the test centre fill the cylinder with water under extreme pressure and make sure that the bottle does not flex. When your cylinder passes, it will get a sticker placed on the side of your bottle saying that it has been tested. Without this sticker you cannot refill your cylinder.
Compressors are the easiest way to fill a PCP air Rifle we currently stock two models of compressors in store the Nomad II and the Wulf Compressor.
The WULF LCD 4500 PSI Portable PCP Compressor has been designed to accommodate the everyday PCP Air Gunner with a means to refill on the go. Gone are the days of having to head on out to your usual, stationary refill source. Now, with the WULF LCD 4500 Psi Portable PCP Compressor, you can simply refill from home or even your car!
Packed with handy features and a neat LCD control system, look no further when it comes to a Portable PCP Compressor, this product was designed by Air Gunners, for Air Gunners.
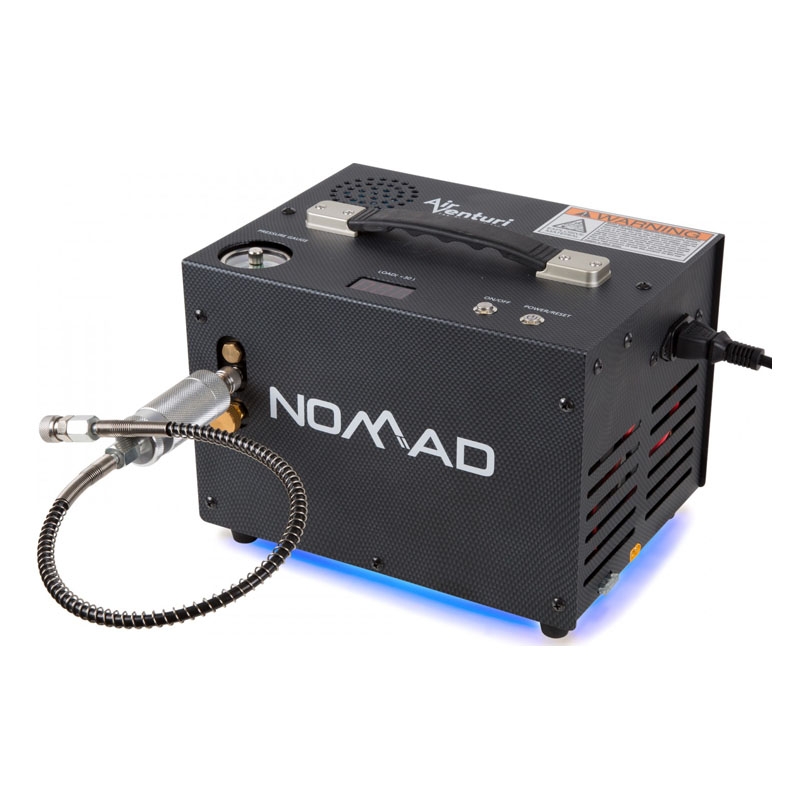
Wave goodbye to scuba tanks and handpumps forever with a compressor built to go anywhere you can—the Air Venturi Nomad II.
Boasting big features in a small package, the Nomad II is a compact compressor that can be powered from any 110 or 220V outlet. But don’t feel the need to stay put! If you have a car, you have a fill source, as the Nomad can also operate from a 12V car battery—a real lifesaver for PCP gunners filling up at the range or in the field. No matter where your airgunning takes you, the Nomad II will keep you aired up and ready to shoot.
If that wasnt enough, the Nomad II has built in LED lighting on the bottom of the unit, so even when light is fading, your air supply never will. And with the addition of the built in power supply and the included travel bag, the Nomad II is easily the most portable air compressor on the market.
Whether filling a PCP airgun from empty or just topping off, the Nomad II fills quickly and efficiently. When tested, our Nomad II was able to fill a 250cc cylinder from 0 psi to 3000 psi in as little as 9 minutes. The adjustable, automatic shut-off allows you to set the compressor to the exact fill pressure of your gun (up to 4500 psi) and the unit stops when that pressure is reached.
The Nomad II lets PCP air gunners break free of stationary fill sources forever! Become your own mobile air powerhouse with the Air Venturi Nomad II Compressor.
Come in with your airgun and have a chat with us and we will be more than happy to advise on what is best for you.
